Making Beautiful Art Prints at Home (Step-by-Step)
Artists don’t deserve to be poor, but the cliché of the starving artist has become more prevalent in recent years. Having said that, there are more ways than ever for artists to make a living selling their artwork. One creative way to make money from your art is by creating and selling prints that you make yourself at home to cut costs. But how do you make art prints at home?
The tools to make art prints at home are readily available and affordable compared to just a few years ago. You will need a scanner or DSLR to digitize your artwork, a computer, and a pro-quality inkjet printer. With some trial and error, you can create your own art prints at home for less.
This guide will show you how to make professional art prints at home that are both beautiful and less expensive than paying a printing service. I’ll also share with you some essential tips to make better DIY prints.
So, What Exactly are Art Prints?
(This article may contain affiliate links and I may earn a commission if you make a purchase)
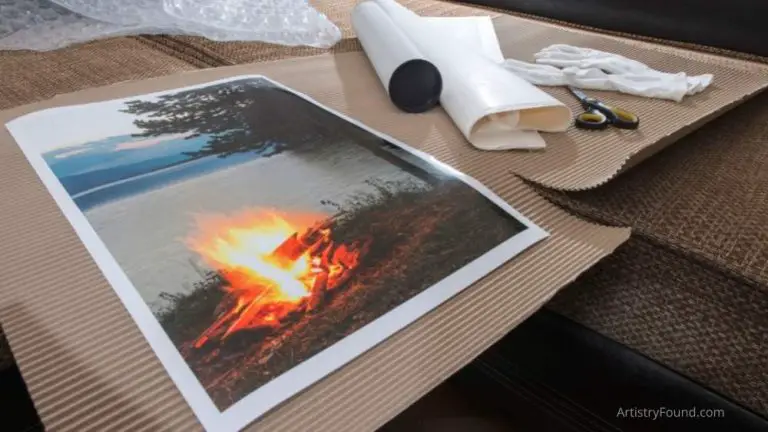
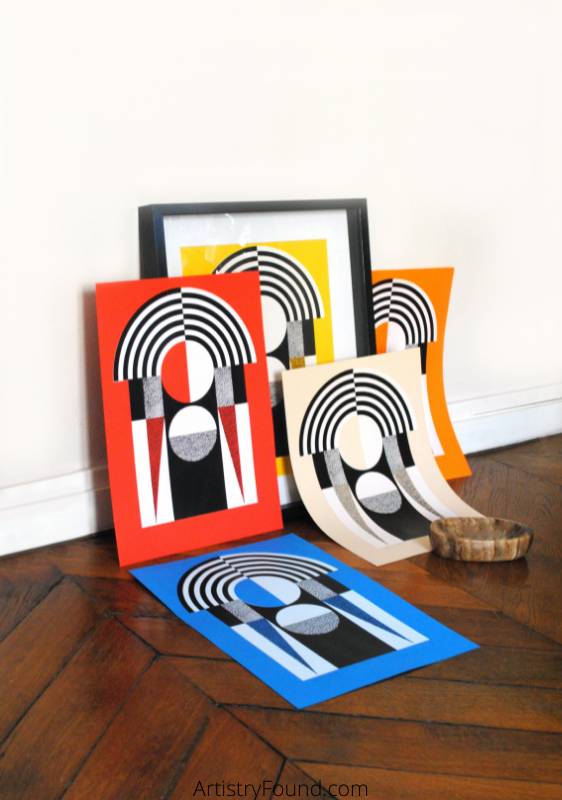
Whether you’re a painter, sculptor, or another type of traditional artist, you can only have one original copy of your artwork. When you make a digital reproduction of the original art on a piece of paper, what you’ve just created is called an art print.
Several years ago, nobody tried to make art prints at home. It was too complicated, expensive, and the print quality just wasn’t there. Instead, artists, at the time, used commercial services and photo labs to create their art prints, which was both expensive and time-consuming.
Fast forward to today, most of the equipment required to create gorgeous art prints is now available to consumers for affordable prices, and many artists are opting to create their own art prints at home.
If you’ve been thinking of making prints of your artwork, you’re in the right place. This is an A-Z guide on making professional art prints from the comfort of your home using consumer-grade tools and equipment.
Spoiler: making quality art prints isn’t cheap. No matter how much you try to cut costs, making art prints will set you back a bit. If you’re not quite prepared for the high upfront costs of making homemade prints, you can continue using a local printing company or a quality online art printing service like Mpix.
If you have the budget, however, I highly recommend investing in these tools. While getting started in home printmaking can cost a bit at first, once you get the process dialed in, you can save a lot of money making fine art prints yourself.
With that being said, let’s get into the process of making art prints at home.
How to Make Art Prints at Home (Step-by-Step)
The journey from deciding to make your own art prints to selling your first one isn’t easy. There are a lot of materials to buy, steps to take, and mistakes to make.
However, if you can manage to work your way through all of the challenges, you will never have to pay anyone to create your art prints again, and you can make new prints anytime you want.
Here are the exact steps you need to follow to make your first DIY, professional-grade art print.
1. Get all the necessary tools for making art prints.
The first step to making your art prints is getting all the necessary tools and equipment. It helps to have a pretty hefty budget to start because you’ll be buying a whole suite of tools for the task.
The good news, however, is that you may already own some of these tools. Plus, if you only plan on making prints occasionally, you might be able to borrow some of the necessary equipment from a friend or another artist.
Barring that, here are some of the things you’ll need to procure to make your own art prints. (I’ll mention how essential each of these tools is, so you’ll know which ones to make a priority.)
- DSLR Camera
A Canon EOS Rebel (Amazon) is the type of digital DSLR camera that will produce the quality you’ll need without breaking the bank.
Depending on the typical size of your painting or artwork, you may be fine with a scanner (Amazon), but I’ll assume you work with a larger canvas, like most artists. Large canvases (over 8.5 x 11.7 inches) won’t fit into a scanner, so you’ll need a pretty good digital camera to have a somewhat accurate representation of your artwork.
If you’re thinking of the camera on your smartphone, you’re looking at the wrong thing. There’s no way your smartphone’s camera will capture an image that’s good enough for an art print. Instead, you’ll need something a bit more professional and well-suited for the task.
Fortunately, you don’t need the best DSLR in the world to reproduce your artwork (although it’s a bonus if you already have one). Instead, you should get a camera that packs a lot of dots per inch (aka megapixels) while taking pictures that are near-accurate representations of what you see in real life.
Again, if your artworks are small enough, you can use a scanner to get digital representations of the image. Scanners generally have high dpi, so the only thing you need to worry about then is color accuracy.
- Laptop (or desktop computer)
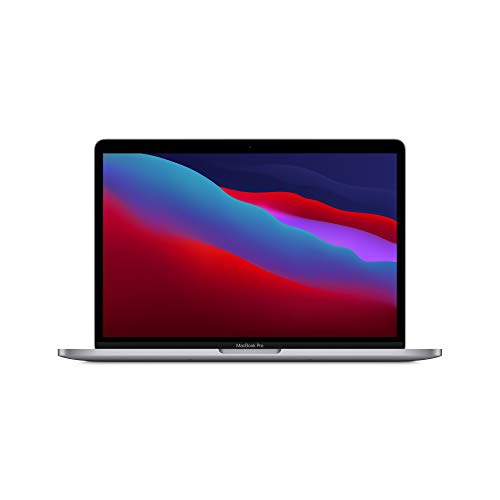
Personally, an Apple computer like this 13-inch MacBook Pro (Amazon) is always my choice as it has a monitor with excellent color accuracy.
While a quality camera will capture all of the digital information you’ll need to make a good print, they don’t produce the most realistic-looking images without some tweaking, so you’ll need a computer to retouch the reproduced image before sending it to the printer.
You’ll also need to connect the computer to your art printer in order to manage the printing jobs and control what the printer outputs. In short, a computer is absolutely necessary for art printing.
When choosing a computer to manage your art prints, you should pay special attention to the quality of the monitor. Ensure that it has a high-definition monitor with excellent color accuracy that reproduces colors correctly.
Also, you may want to choose a computer with plenty of RAM (8GB of RAM at a minimum) and a powerful processor. Any recent MacBook Pro works, but you can choose any current laptop (Mac or Windows) with a great display.
- Professional Quality Printer
A professional class printer is necessary in order to produce the high quality print you’ll want. The Canon imagePROGRAF PRO-300 at Amazon uses 9 colors of ink to reproduce images beautifully.
This is where most people make a mistake in their art printing setup. You don’t want to snag the most affordable printer on Amazon for making art prints unless you want to sell terrible copies of your design to your buyers.
When choosing a printer, you should go for something that offers professional quality that’s capable of handling the kind of paper that you typically use for art prints.
The best printer for art prints is typically an inkjet printer that supports the pigment-based inks that should always be used for art printing. Pigment ink is very durable and can last up to a century if the print is adequately cared for.
Tip: Avoid cheaper printers that use dye based inks. While they will produce prints that look just as good, the prints will not last for long. The ink and colors will begin to fade after a year or two.
- Archival Printer Paper
The right archival printer paper is needed for the longevity of your prints. There are many papers to choose from but a nice semi-gloss like this Photo Paper Plus from Canon (Amazon) is a good place to start.
You must make your art prints on durable fine art paper to make them sellable. The best paper for art prints are the ones that can stand the brightness of indirect sunlight without fading.
When selecting paper for your art prints, you should consider using acid-free archival quality paper. Archival-quality paper is more resilient to the yellowness that usually occurs on regular papers after a certain period.
Tip: For longevity, both the paper and the ink you use should be “archival”, meaning they will last for a long time.
You don’t have to get the paper right the first time. You can always try different papers to see what works best for your wall art. Printer paper comes in several different finishes such as matte, glossy, or semi-gloss. Experiment until you find a paper that suits your art.
- Quality Photo Editing Software
Sometimes, paintings or other artwork don’t come out as expected when you try to reproduce them with your camera. In this case, you can use photo editing software to do some basic retouching to the photos to make them look as close to the original artwork as possible.
There are many photo editing programs on the market, but Photoshop is the best by a wide margin. It has so many tools and features that you’ll be able to do whatever kind of retouching you require.
If you didn’t skimp on a quality display while choosing a computer, you can edit your artwork, see precisely how they’ll look once you print them, and only print them when they look perfect. This will get you close to a perfect print but you will still have to print test proofs until it looks good enough for you (more on that below).
Tip: This is an area where you can cut some costs. Rather than paying for a Photoshop subscription, you can try a free photoshop alternative like Krita or Gimp. These programs have many of the same features as Photoshop but without the cost.
2. Capture the Image
This is the obvious next step, and things will get somewhat easier from here on out. Taking a representative picture of your artwork using a digital camera isn’t exactly easy. Still, it’s quite a bit easier than spending the money to get the necessary tools for making art prints.
The goal here is to reproduce the image in a digital form. There are two options for this; you can either choose to use a scanner (only works if the artwork is perfectly flat and smaller than 8.5″ x 11.7″) or take a high-resolution picture of the artwork for further processing in Photoshop (or whatever software you end up using).
When taking a picture of your artwork, you will have to adjust the lighting and camera settings manually in order to get a quality image capture. This will give you some level of control over the colors and saturation of the reproduced image.
Also, you should try as much as possible to make the picture align correctly in the viewfinder. For example, if you capture the art from an angled perspective, the final print may end up looking significantly distorted from the artwork you’re trying to reproduce.
You can check other artists’ art prints online to see some great examples.
Then, after you get a satisfactory picture, you can upload it to your photo editing software to make retouches to the image before printing.
Tip: If you’d like to skip the step of photographing the art piece altogether, you can look for someone locally (a photo lab or photographer) who can create the necessary digital image of your artwork.
3. Edit the Image and Print Test Proofs.
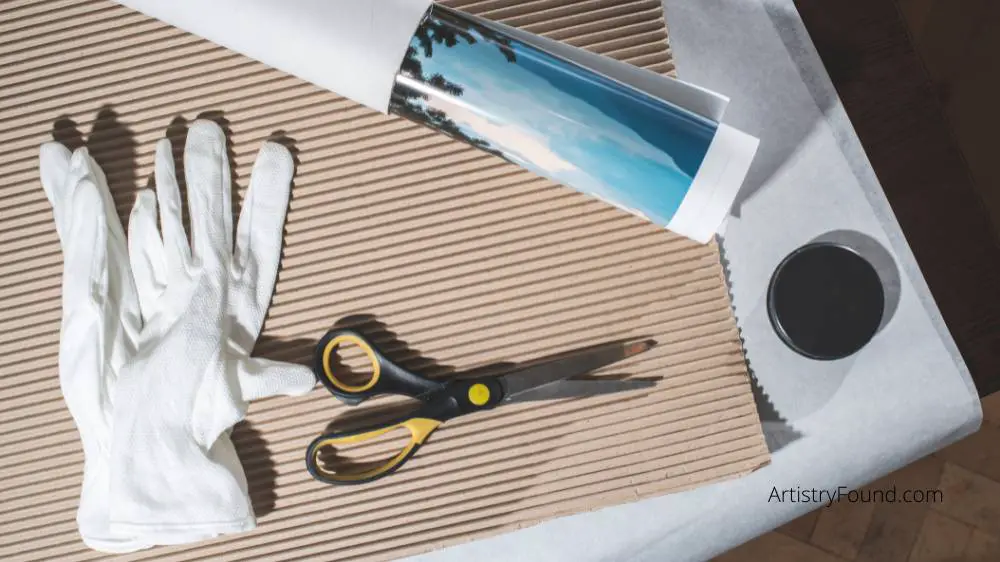
Once you have the image of your art in digital form on your computer, you can open it in Photoshop to adjust the colors, brightness, and saturation until it matches that of the original artwork.
Before retouching the colors, however, you first need to crop the image to remove all the extra dead space around the painting due to imperfect photography. You can create a new document close to the size you want your print to be before starting the editing process.
The new document doesn’t have to be the same size as your original painting, but it should be relative. For example, trying to reproduce a 10×8 inch painting on a square canvas will undoubtedly make it look distorted and out of place unless it is heavily cropped.
After choosing the perfect print size for your art, you can proceed to adjust the saturation and brightness to get it close in appearance to the original artwork.
It’s important to note that printers don’t print what you see on your monitor. This is due to a difference in the way they produce colors. While computer monitors use the RGB color scale, printing uses CMYK, making printed art look a little bit duller than what you see on your computer.
That’s why proof printing is an essential part of printing. Proofing simply refers to the art of printing out your artwork on paper until you think it’s good enough. This print is called a proof.
Important Note: You should be willing to live with the fact that you can’t reproduce your painting or other artwork with 100% accuracy using a camera and a printer. You’ll need to expect that while the colors can look very close, they are likely to be slightly different when comparing the fine art print to the original work.
The idea is that once you have a proof, you can make further adjustments to the digital file and then print it out again until you’re happy with it. Then, once the proof print looks like you want, you can start making your final art prints.
4. Print the Final Art Print
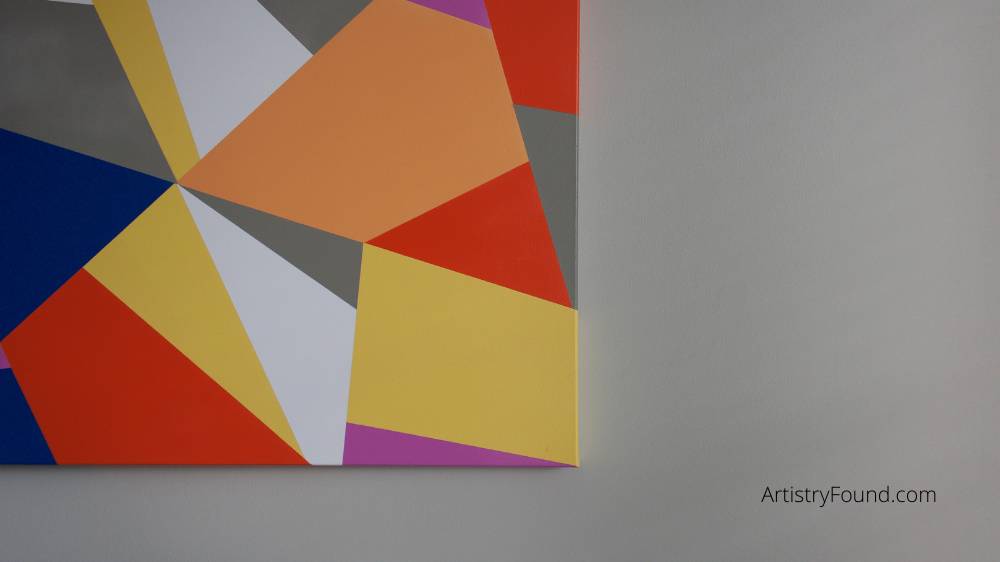
After printing a couple of test proofs, you should have one that’s most representative of the original artwork. You don’t have to create the perfect duplicate; you just have to make sure it looks close enough to pass as an authentic art reproduction of your original work (which it is).
At this stage, you can begin making multiple prints in your desired size.
The quantity of art prints you make depends on how you’re planning to market them. If you think making an enormous lot of prints will expand your earning potential, you can print many copies at once.
However, you should know that most people will pay more for a signed and numbered limited edition copy, especially if the artwork looks great. In this case, you might decide to only ever produce 10, 25, 50, or 100 prints of this artwork in total.
Note: If creating signed and limited edition prints is the way you want to go, know that you don’t have to print all of them at once. Instead, you can print and number them as needed until you reach your maximum print total.
And there you have your art prints. The next big challenge after creating your prints is selling them. While this article isn’t about selling art prints, I’ll give you some tips on making art prints that sell like hotcakes online.
Tips for Making Art Prints at Home
You’ll get better at making art prints over time, but your first print should be good enough that you feel great about selling it. If you’re making an art print for the first time, here are some tips to help you out.
1. Take high-resolution pictures with a professional camera
The importance of this step can’t be overemphasized. Many artists make the mistake of taking a picture of their artwork with a mobile phone to send in for printing.
The problem here is obvious; a mobile phone is meant to take casual photos for Instagram or Twitter, while a digital SLR camera is intended for taking high-quality images, printable on a wide range of surfaces, from a tiny passport photograph to a billboard.
Trying to reproduce your artwork with your smartphone camera will only take an Instagram-quality picture of your art. When you print it on a large piece of paper, the pixels will be visible, which isn’t what you or your art buyers want.
2. Print test proofs
It doesn’t matter how color-accurate your monitor is or how well it’s calibrated; monitors can’t display CMYK colors accurately. Since most printers print in CMYK, you shouldn’t 100% trust the images you see on your monitor.
A smart workaround is printing test proofs to see how the colors in the art look on paper. You may have to print multiple proofs to arrive at the best representation of your art.
3. Market your prints
The whole idea of making art prints is to sell them to art buyers. So the most logical step after making your art prints is to try to sell them to people who might be interested in buying them.
An excellent way to start is by listing them on online stores like Etsy or Fine Art America. You can then promote the art prints on social media to reach more people and make more sales.
You can also create your own website at Squarespace to list your art prints for sale. This is the recommended way to market your prints as you can run adverts yourself and control what your visitor sees. Having your own website is better than hoping an algorithm will show your prints ahead of what others have to offer.
Now that you know how to make art prints at home, you’re well on your way to selling your first print!


