How to Ship Art Prints (Safely & Inexpensively)
Making art prints is a smart way to make some extra income as an artist. The entire process of making an art print is relatively straightforward until it’s time to ship to a customer. Since shipping is almost entirely out of your control, how can you ensure your art prints are shipped safely?
You can ensure your art prints are shipped safely by always packaging them correctly. This involves using a flat or rolled package that’s difficult to damage, even intentionally. If you make the prints difficult to damage, you’ll dramatically reduce your problems in regards to shipping art prints.
Your goal is to get the art prints to your customers safely without overpaying the shipping company. In this post, I’ll show you how to package your art prints to ensure that it gets to your buyers just as you intended.
How to Ship Art Prints
You can’t control how your art prints are shipped or how they’re handled during the shipping process. But you can package the art prints to make them resilient to damage and keep their quality intact, even if they’re handled roughly before it gets to the recipient.
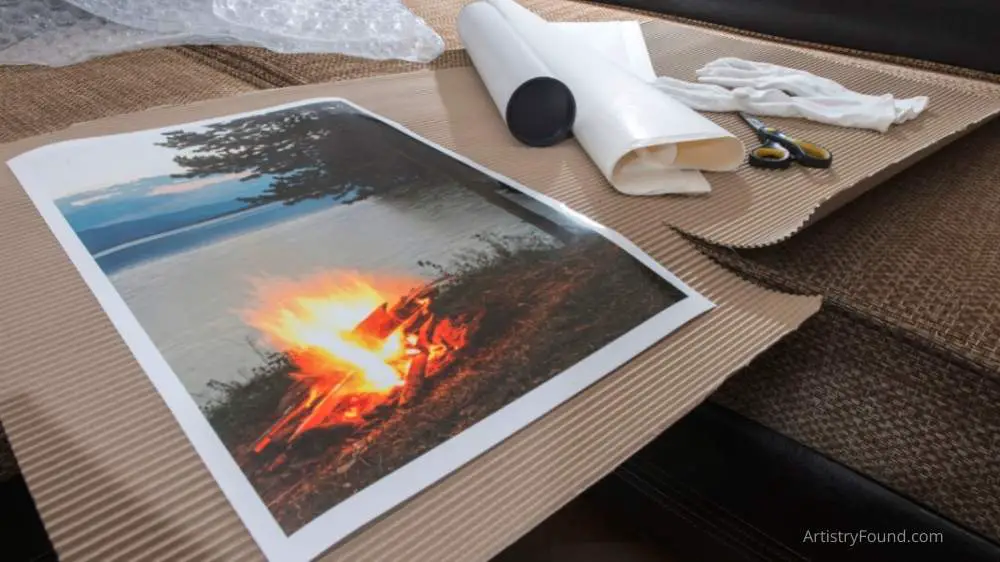
Just like most other procedures in making art, packaging your artwork for shipping requires a lot of materials and tools. Fortunately, most of the materials you need to package your art are relatively cheap, and you can get all of them on Amazon in bulk.
Step 1: Getting the Required Tools
(This article may contain affiliate links and I may earn a commission if you make a purchase)
All of the tools listed below are my recommendations for this task. You’re free to improvise if you have something that may replace any of them. If you don’t, it’s recommended to buy the recommended tools, as they’re not just cheap, but effective at protecting your art prints before shipping.
Here are some packaging tools to add to your shopping list if you’re planning to package your art prints for shipping.
- Precision or craft knife
When packaging your art prints for shipping, you don’t want to use too much or too little cardboard and that’s where the knife comes in. A craft knife helps you cut the kraft paper or cardboard cleanly to the sizes that you need.
If you collect many art supplies, you should already have a craft knife. Otherwise, it should be on your next shopping list.
- Cardboard or chipboard
The cardboard plays an important role in the process of flat packaging art for shipping. When it’s packaged with the print, the package becomes harder to bend or fold, protecting them from damage in transit.
- Kraft paper
Kraft paper does the same job as the cardboard, but with rolled prints. While it doesn’t make the prints harder to bend or fold, it protects the paper from external damage inside the mailing tube.
- Masking tape
The masking tape is only required when you’re shipping a print in a mailing tube. It holds the print with the craft paper and prevents the whole package from unfolding throughout the shipping process.
Step 2: Using a Flat Package
After gathering all the necessary supplies for the task, it’s time to prepare your art prints for shipping. If your studio is large enough, you can have a separate area for packaging art prints to get them ready for shipping.
If you don’t have a separate packaging area, you can use any flat surface. A table works well, but there’s no written rule preventing you from packing your art prints on the floor. Once you’ve established an area that can contain all of your tools, it’s time to start the real work.
There are two common ways to package an art print for shipping: using a flat package and rolling it up in a tube. Unless the print is too massive to be packed flat, you should always use a flat package for your art prints.
Since most of your prints will be using flat packaging, here are the steps necessary to prepare your art prints for shipping using a flat package.
1. Measure the art print
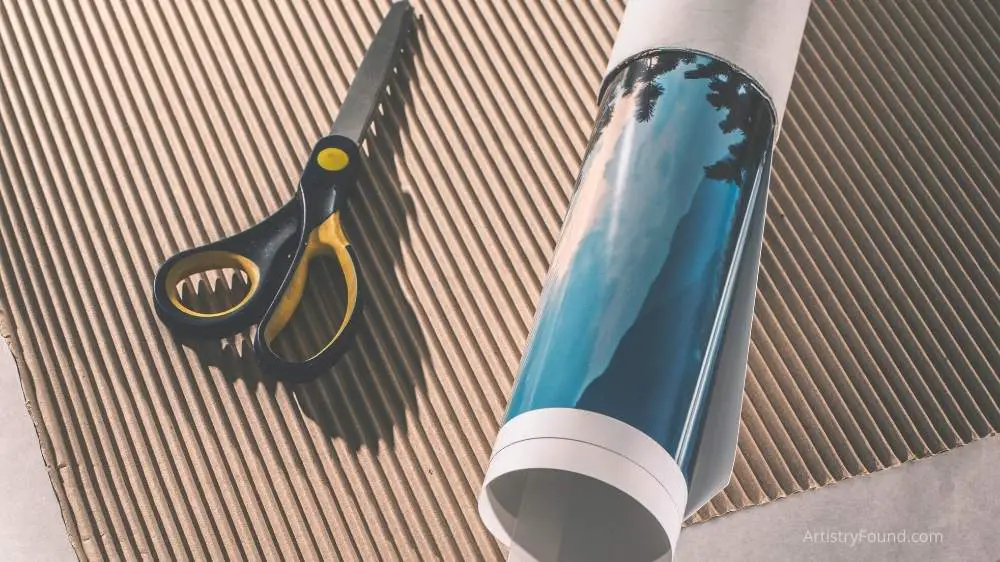
The first step to creating the perfect package for shipping an art print is by taking its measurement. You can then proceed to create a perfect-sized package from the length and width of the print.
Estimating never works; you’ll either create an oversized or an undersized package every time.
If you already know the dimensions of the paper carrying the print, you don’t even need to measure the art print. You can simply jump to the process of creating the package, using the paper’s dimensions as the dimensions for your artwork.
Knowing the dimensions will guide you through the process of getting the appropriate plastic sleeves to wrap the art print.
2. Get cardboard of the size of the art print
After getting the measurement of the art print, cut a piece of cardboard to be the same size as the print or slightly larger.
The purpose of this cardboard is to make the art print more difficult to bend, increasing its chances of getting to its destination without suffering any major deformities.
3. Package the cardboard with the art print
Put the cardboard into the plastic sleeve that you got earlier. You should always try to get a plastic sleeve that’s slightly larger than the print.
The art print should go into the plastic sleeve first. Then, you should slide in the art print, ensuring that the design is facing outwards. This gives a natural beauty to the packaging, as the recipient will see the art once they receive the package.
Seal the plastic sleeve after the cardboard and the print are both packaged. Now, you have an art print that won’t bend easily, even if it’s mistreated by the shipping company to a certain extent.
4. Seal the package in a mailing envelope
Now that you have an art print that won’t bend easily, you can safely pack it in an envelope with fewer worries that the package will suffer any damages before getting to its destination.
For best results, you should get a self-sealing envelope that’s designed not to be bent. Sometimes, the envelopes come with a “Do Not Bend” print to signify that the packages in them shouldn’t be bent.
If the mailing envelopes you bought earlier don’t have this print, you can label it yourself. With a “Do Not Bend” sticker and a package that doesn’t bend easily, your art prints should be safe, at least most of the time.
Step 3: Using a Mailing Tube
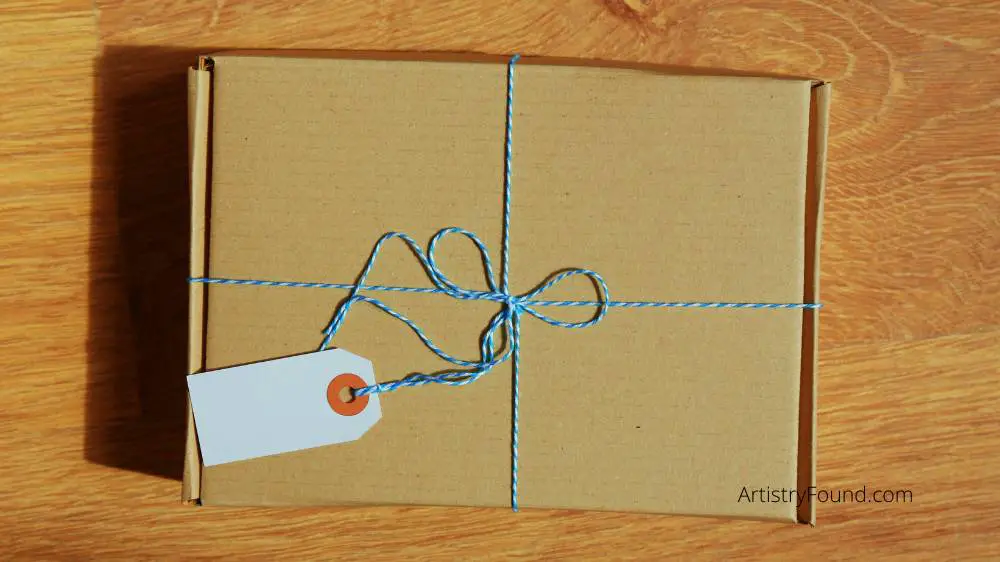
If your art print is compact enough to be shipped using flat packaging, you don’t need a mailing tube. Mailing tubes should be used exclusively for posters and extra-large prints, as flat packaging and shipping in these sizes become too expensive.
If you have to use a mailing tube, here are the steps required to package your art prints and posters for shipping in a mailing tube.
1. Roll up the print with kraft paper.
Kraft paper offers some level of protection for the art print against scratches and tears when shipping the print. Using a precision knife, cut a portion from the kraft paper that’s a couple of inches longer and wider than the art print.
Spread out the paper on a flat and clean surface and spread the art print over the kraft paper. Fold about an inch of the craft paper over the edges of the print that are more susceptible to wrinkles while the art print is in transit for protection.
Then, carefully roll up the print with the kraft paper with the print on the inside and the kraft paper on the outside. While rolling, take adequate care to ensure that you don’t accidentally crumple or damage the print in the process.
2. Tape it up and put it into the tube.
After rolling it up, secure the print in place using the masking tape that you bought earlier. In the place of masking tape, you can use a custom sticker or anything else to prevent the print from unrolling without human effort.
After you’ve rolled and taped up your art print, you can put it into the shipping tube. Ensure you’ve rolled the print to allow it to roll into the tube naturally without too much effort. If you force the print into the tube, the recipient will also have a hard time removing it, potentially damaging the print.
You may also seal the ends of the tube to prevent your art prints from slipping out during shipping. Taking all of these precautions increases the chances of an art print getting to the recipient safely without you having to pay extra to the shipping company.

