The 7 Best Art Supplies For Drawing (Proven Winners)
Many of us started drawing from the first moment we learned how to hold a pencil. Back then, materials and tools were of no importance to us. All we wanted to do was sketch or scribble things that were often meaningless.
As you grow, you begin to make more sense of the world, seeing inspiration in the things in your surroundings. You begin to draw the object and scenes you see around you, like trees, animals, and sometimes your family.
A notebook sheet and basic #2 pencil were more than enough for you to start drawing.
However, if you decide to follow the artist’s path as I did, you discover that there is more to materials than a simple pencil and paper. While these two instruments are the foundations of drawing, they come in variations that you’ll never know till you gain experience.
Somewhere along the line, you begin to see the connection between having quality art supplies and a good quality drawing. These supplies start to play a significant role in your drawing as an artist.
However, you don’t have to be an experienced artist before knowing the basic supplies you must have. If you’re serious about art, you should learn about the essential materials regardless of your level of experience.
In this write-up, I shall give a detailed explanation of the basic art supplies you need for drawing.
1. Sketchbooks
(This article may contain affiliate links and I may earn a commission if you make a purchase)
A sketchbook is one of the most important tools in the collection of any artist. Anyone can own a sketchbook and use it for different purposes, but for artists, a sketchbook is where the designs come alive. As an artist, I draw inspiration from anything. I could be looking out of my window and catch sight of a family on a morning stroll.
This might look like a normal scene to a regular person, but for me, it is sketchbook-worthy. Because I do not know where I might find inspiration, I always carry a sketchbook with me.
Sketchbooks are also the best surfaces for an artist to hone artistic skills. It allows an artist to practice daily. The more time an artist spends drawing, the better the work becomes.
Artist also considers the sketchbook as a rough book where the initial ideas take shape. It shows the “hard work” that goes into the development of an artwork, as well as a source of creative, artistic ideas. Despite the fact that a wider audience will never see the sketchbook, it is the driving force behind successful artworks and artists alike.
If you’re going to utilize a sketchbook for daily practice, make sure it’s both durable and has enough pages to accommodate all of your ideas. In terms of sketchbooks, I recommend one with a hardback cover that will be suitable for regular use. If you travel often, a hardback will aid in keeping the pages flat and keep the corners of the pages from folding.
2. Quality Drawing Surfaces
You can create a drawing on any surface, like your sketchbook. However, the quality of the surface is as important as the drawing itself. Before you choose a drawing surface, there are a few things to consider. These are the tooth of the paper, the weight of the paper, and its Acid-Free content.
Tooth Of A Surface
The tooth on the surface refers to the texture of the paper. The texture of the paper has an impact on how well the drawing substance stays on the surface of the paper. Heavy textures may appear “broken,” whereas softer textures will have smoother lines with better value gradations.
Some illustrators like a rougher surface, whereas others prefer a smoother one. When choosing a drawing surface, you must consider the drawing materials you intend to use and the type of artwork you want to create.
The Weight Of The Paper
The weight of a paper refers to how heavy 500 sheets of paper is. In most cases, the weight of the paper is proportionate to the thickness. It is worth noting that some paper may weigh heavier but look thinner than its lighter counterpart.
Acid-Free Paper
Have you noticed that some books change color when they remain in the store for too long? Even worse, the writings on these books begin to fade till there is nothing but a faded page. These books also become brittle and disintegrate over a short period of time.
This is a result of the presence of acid in the cheap paper publishers often use in paperback books.
Acid-free paper does not change color with time and is more resistant to the fading caused by exposure to ultraviolet rays. In other words, “acid-free” paper will “stand the test of time.”
There are different types of paper that can serve an artist. For drawing paper, you should opt for a medium-tooth paper that works with any media like colors, graphite, and charcoal. There are varieties of drawing papers that fit into this category, but I recommend Strathmore paper (Amazon).
If you’re using charcoal or graphite to draw, go for a heavier-tooth paper that is lightweight and semi-transparent. There are also Bristol papers (Amazon) that work best with ink.
Bristol Paper is a thicker, smooth-toothed paper with a textured surface. This paper is quite stiff, which makes it great for creating detailed line work.
3. Drawing Pencils
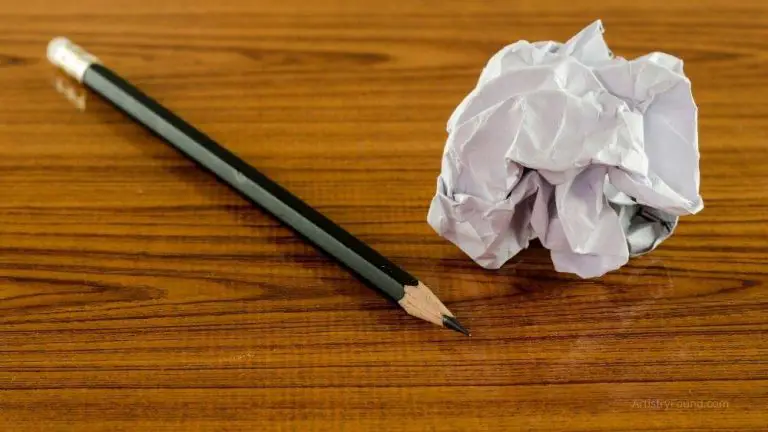
When it comes to sketching pencils, every artist has a particular brand that they prefer to use. It’s impossible to anticipate which brand will become your favorite without first experimenting with a few different options.
Drawing Pencil Sets
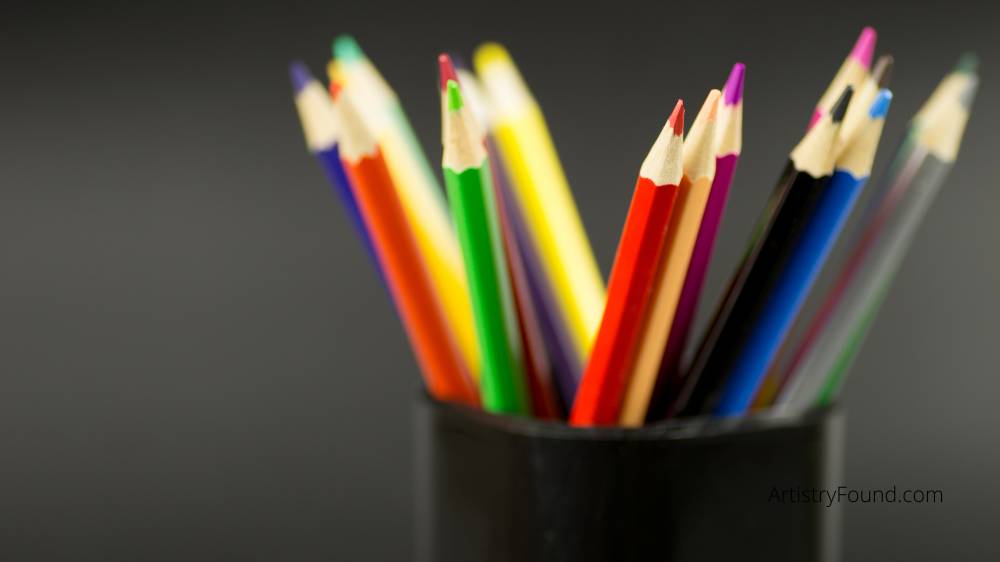
Drawing pencils often come in attractive packages. Each package contains several graphite grades. These grades could range from higher graphite(9H) to softer ones(6B).
Harder graphites have a stronger tip that can last longer once you sharpen it whereas, you need to resharpen softer graphite tips regularly. These sets provide the artist with the opportunity to explore a wide range of values and mark types in one artwork.
There are a plethora of fantastic pencil brands from which to choose. I recommend Derwent graphite pencils (Amazon) because they are affordable and have high quality.
Single Pencils
Many artists may not use all the pencils that come with a drawing pencil set, and this is understandable. Instead, they may decide to utilize only a few pencils which they find comfortable or perfect for their kind of work.
For example, most of us would be content with popular pencils like the HB, 2B, 4B, and 2H grades. This means that purchasing a pencil set might not be necessary. However, this usually happens with more experienced artists.
If you are still new to the field, getting a full set is the best option for you. Despite the fact that graphite pencils are not very expensive, purchasing individual pencils can be more expensive than purchasing a complete set of pencils.
Colored Pencil
You can find colored pencils in several art shops. This doesn’t mean that every colored pencil will give you the result you want. When choosing a colored pencil, you should consider the quality of the brand.
One of the best pencils I use is Prismacolor Premier (Amazon). It is true that some people complain about how easily the pencils shatter, but they are easy to work with and can layer colors to produce an application that looks like a painting.
Polychromos pencils (Amazon) are another great options you should consider as an artist. With their oil basis, Polychromos pencils from Faber-Castell are a little different from their wax counterparts.
Although it takes several applications of these pencils to get rich color, the end effect is stunning. For those who prefer colored pencils to other media, these pencils are an excellent purchase.
For more vibrant colors, opt for Luminance pencils (Amazon). These wax-based pencils are more durable than Prismacolor Premier, so they shatter less frequently. These pencils are your best option if you’re going to be working on darker surfaces.
4. Quality Sharpeners
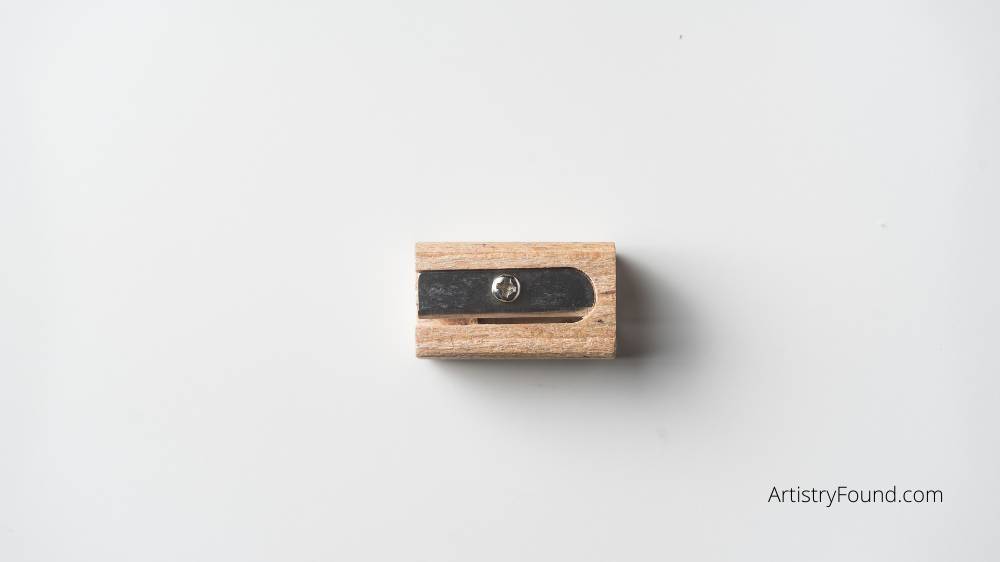
An artist requires quality pencil sharpeners for sharpening pencils. Many would consider all sharpeners the same, but they aren’t. A poor-quality sharpener could render your pencils useless. They might sharpen the tip of your pencil, but they do so in a manner that makes the tip fall off quickly.
As a result, you keep sharpening the pencil continuously, which reduces the length of your pencil in no time. There are two types of pencil sharpeners. These are manual and electric sharpeners.
Manual pencil sharpeners are the most popular sharpener types. They are available in different shapes and sizes. My personal favorite is a little, hand-held metal sharpener.
It’s a low-cost, convenient option that you can take with you everywhere you go. If you’re sharpening colored pencils, stick with a manual sharpener.
You get what you pay for when it comes to electric pencil sharpeners. This means that high-quality electric sharpeners come at a higher cost than low-quality ones. With a good electric pencil sharpener, you won’t have to worry about losing any of your pencils.
It’s convenient to have an electric pencil sharpener, but do not use it on colored pencils. Colored pencils include a waxy binder that can clog the sharpener’s blades and cause it to stop working.
5. Erasers
Everyone believes that erasers are only to correct mistakes. However, using the wrong eraser can also make mistakes. Erasers often leave marks on different surfaces, therefore, you should use them only when strictly necessary for the particular drawing medium.
Some of my suggestions for erasers include rubber erasers, plastic erasers, gum erasers, and kneaded erasers.
Rubber erasers are the most common eraser type we have. You’ll need this to erase graphite. In order to remove any substance from the surface, this eraser utilizes friction. That means you must apply a significant amount of force to get the mistake off the page.
Erasers from vinyl or plastic are the most durable and are capable of erasing nearly anything you want. However, use caution while using this eraser, since it has the potential to rip the paper if mishandled.
Gum erasers are perfect for removing substances from surfaces that tears easily. As it removes the medium, a gum eraser crumbles into a powder, protecting the surface from tearing.
Kneaded eraser removes material by lifting it off the surface, rather than by rubbing it away. It gets dirty with time but it is possible to clean this eraser by “kneading,” making it look as good as new.
6. Charcoal Or Conté
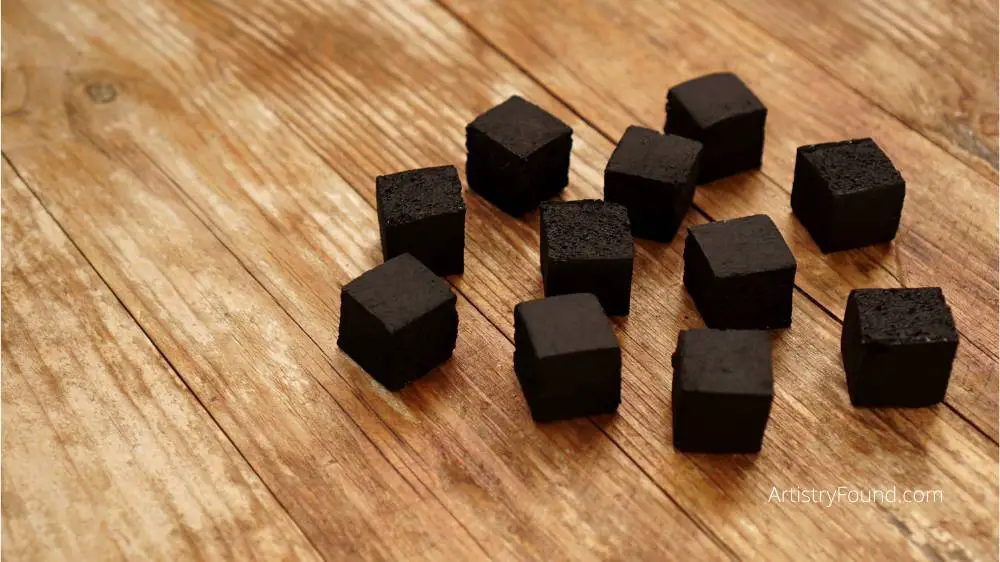
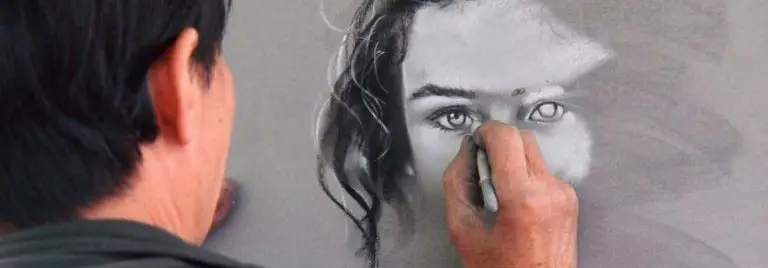
Beyond sketching using graphite, there are various ways to create a black-and-white image. You can achieve this by using charcoal and conté. An artist’s toolbox is not complete without one of these two.
Charcoal offers a wider range of value and mark-making options than graphite. There are also variations in both materials’ form looks on a drawing surface.
There are two types of charcoal: sticks and pencils. Charcoal sticks are often classified as “vine” or “compressed.” Compressed charcoal, however, is more concentrated and leaves deeper stains than vine charcoal.
You can sharpen charcoal pencils just like that of graphite. When sharpened, they create finer details than graphite pencils.
The color intensity of the conté is comparable to that of charcoal, but the chemical composition is different. Conté is a product of clay elements, whereas charcoal is a product of burned organic material.
7. Drawing Pen And Ink
Line control is essential while sketching with ink. With the help of a line, it is possible to create the perfect shape, texture, and light. Using technical drawing pens is a terrific way to get started as a young artist because they are cheap, easy to find, and convenient.
Consider using a dip or nib pen when you’re ready to upgrade the quality of your ink drawings. Dip or nib pen requires bottled ink to function. This method of drawing requires more skill from an artist.
Another alternative is to use pens with a felt tip. Felt-tip pens are one of my all-time favorite drawing instruments as it allows me to create several types of marks and lines.
Final Thoughts
There you go—my personal list of the best art supplies for drawing.
Experiment with these supplies using different brands until you narrow down to your own favorite drawing supply list.
